
Setting up your new Precision XL Feeder
Step 1 - Unpack Your Feeder
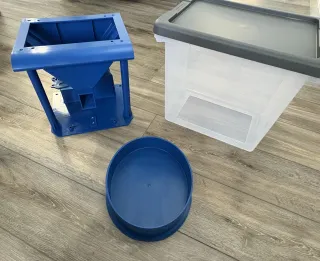
Remove everything from the box:
- Take out the main feeder unit, storage bin, lid, and bowl.
- Set the bin, lid, and bowl aside for now.
- Carefully remove the main feeder from the cardboard base.
Step 2 - Assemble the Feeder
- Place the small end of the storage bin on top of the main unit, aligning the four mounting holes.
- Insert the four press-in clips into the holes and press firmly until they click into place.
- This secures the storage bin to the main unit.
Step 3 - Power On and Load Food
- Place the feeder near a standard U.S. 115VAC outlet.
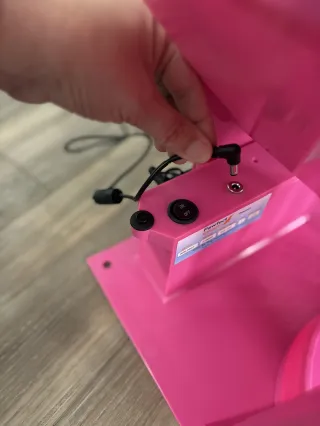
- Plug in the power cord (next to the ON/OFF switch).
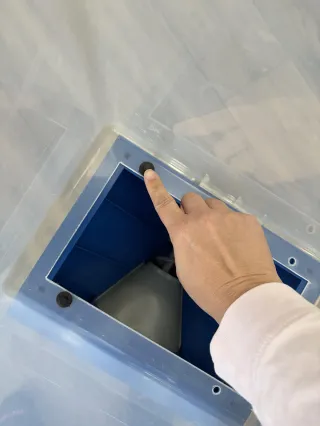
- Turn the switch ON - you’ll hear a short sound when the system initializes. - Check that nothing is blocking the feed screw inside the body.
- Fill the storage bin with your dog’s kibble and attach the lid.
⚠️ Important Safety Notes
- The feeder is a very powerful industrial grade device - not a toy. Keep fingers and children away from the auger.
- The bowl is magnetically attached.
- Never put foreign objects or wet food into the bin.
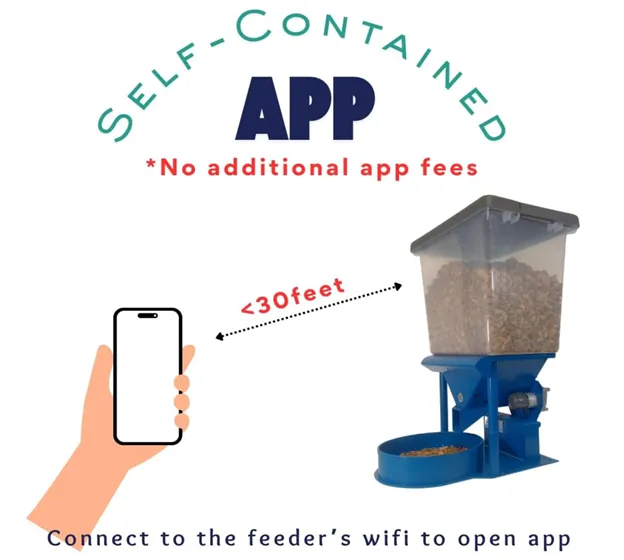
Step 4a - Android - Connect to the App
- On your phone, tablet, or computer, scan the QR Code to the right and Download the PFS App to the “Download” directory on your Android device.
- install the PFS App by simply clicking on it in your download directory. Once the App starts it will automatically install the App on your Android phone. The App will also place a PFS Widget on your phone so that you can easily access the application in the future.
- Ensure that your Android phone is connected to your primary (home) WiFi network. Then click on the PFS Widget. Clicking on the PFS Widget, will bring up a screen with four options. select the second button down “PFS Setup”.
- After a brief scan, the screen “Select a PFS network” will be displayed. Select the item labeled “PFS_XXXXXXXX”. Then On the following screen press the {Connect} button.
- The next screen is where you establish the secure connection between the PFS dog feeder and your Home network. Enter your Network Name and Password (be sure to use the correct capitalization). Press the {Save & Connect} button and you will hear your PFS reset in 5 to 15 seconds. Then, press the [Back] arrow, then the {Back} button on your phone, then press the button {Find Dog Feeders on the Network} to connect to your PFS dog feeder.
- Either select the item labeled “PFS_XXXXXXXX” or select the “pencil” icon to assign a unique name to your PFS dog feeder (most replace “dogfeeder” with their dog’s name!
Congratulations…. you are successfully connected!!!
- Skip to step 5, you’re now ready to calibrate feeding portions.

Step 4b - Apple - Connect to the App
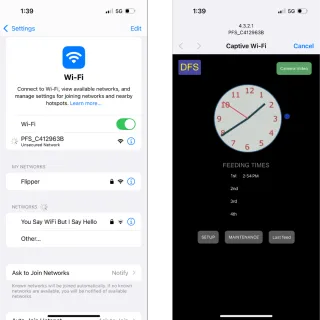
- On your phone, tablet, or computer, open Wi-Fi settings.
- Look for a network named PFS_XXXXXX and connect (no password required).
- The setup page for your feeder will open automatically in your browser (3<5 seconds).
- You’re now ready to calibrate feeding portions.
Step 5 - Calibrate Feeding Portions
Since different size kibbles feed at different rates, it is important to calibrate your feeder to the specific kibble size that you want to use. In addition, if you change kibbles, it would be best to re-calibrate the time.
What You’ll Need: a measuring cup or container (about 2 cups).
1. Fill the feeder storage container (at least half full) with your dog's food.
2. Place the container under the dispenser nozzle.
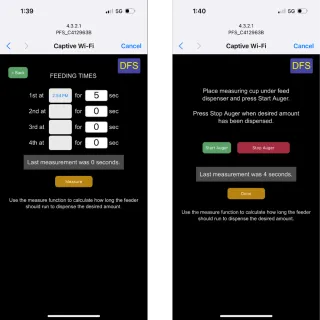
3. In the app, open Setup → Measure to access the Calibration/Timing Screen.
4. Tap Start Auger to begin dispensing, then Stop Auger when you reach your desired amount in the container. The app displays the time in seconds.
💡 Example: if 40 seconds dispenses approx. 1½ cups, use that as a reference for your feeding schedule.
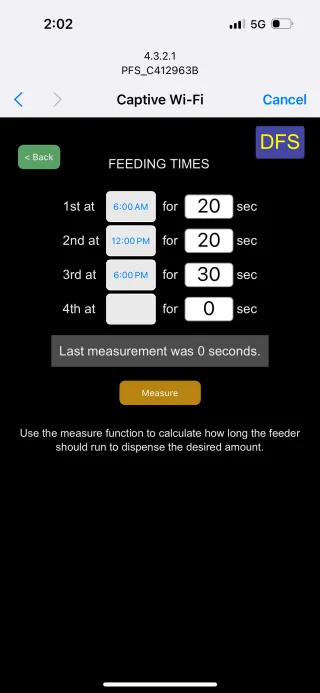
Step 6 - Set Feeding Schedule
You can schedule up to four feedings per day. You can vary the portion size per meal by adjusting the run time for each.
1. On the Setup Screen, select one of the four available feeding times.
2. Use the clock tool to set the time (AM or PM).
3. Enter the dispensing duration (in seconds) based on your calibration test.
4. Repeat for each desired feeding.
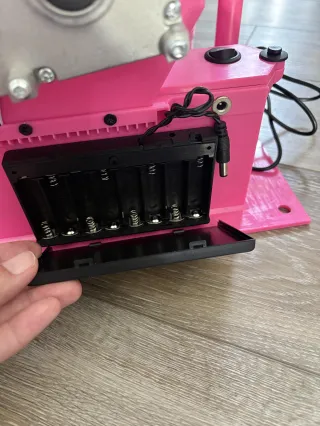
Step 7 - (Optional) Install batteries in the battery back-up case (batteries are not included)
This ensures feeding continues during a power outage.
- Install 8 AA Alkaline batteries into the adapter box.
- Ensure that the plug of the small adapter cord is in the connector in the back of the feeder’s control box.
Step 8 - (Optional) Mounting for Stability
Either method helps to prevent your dog from nudging or moving the feeder, for extra stability (especially for large dogs).
Option 1:
Use the two mounting holes inside the bowl alignment lugs to secure with #10 wood screws.
Option 2:
Use double-sided carpet tape for a semi-permanent hold to the floor without drilling.